When it comes to selling life insurance, capturing and nurturing leads is the key to long-term success.
In today’s digital age, utilizing a sales funnel is not just a smart strategy; it’s essential. In this guide, we’ll walk you through the process of creating and automating your life insurance lead capture funnel using Agent CRM.
Say goodbye to the overwhelm and hello to a simplified, efficient approach.
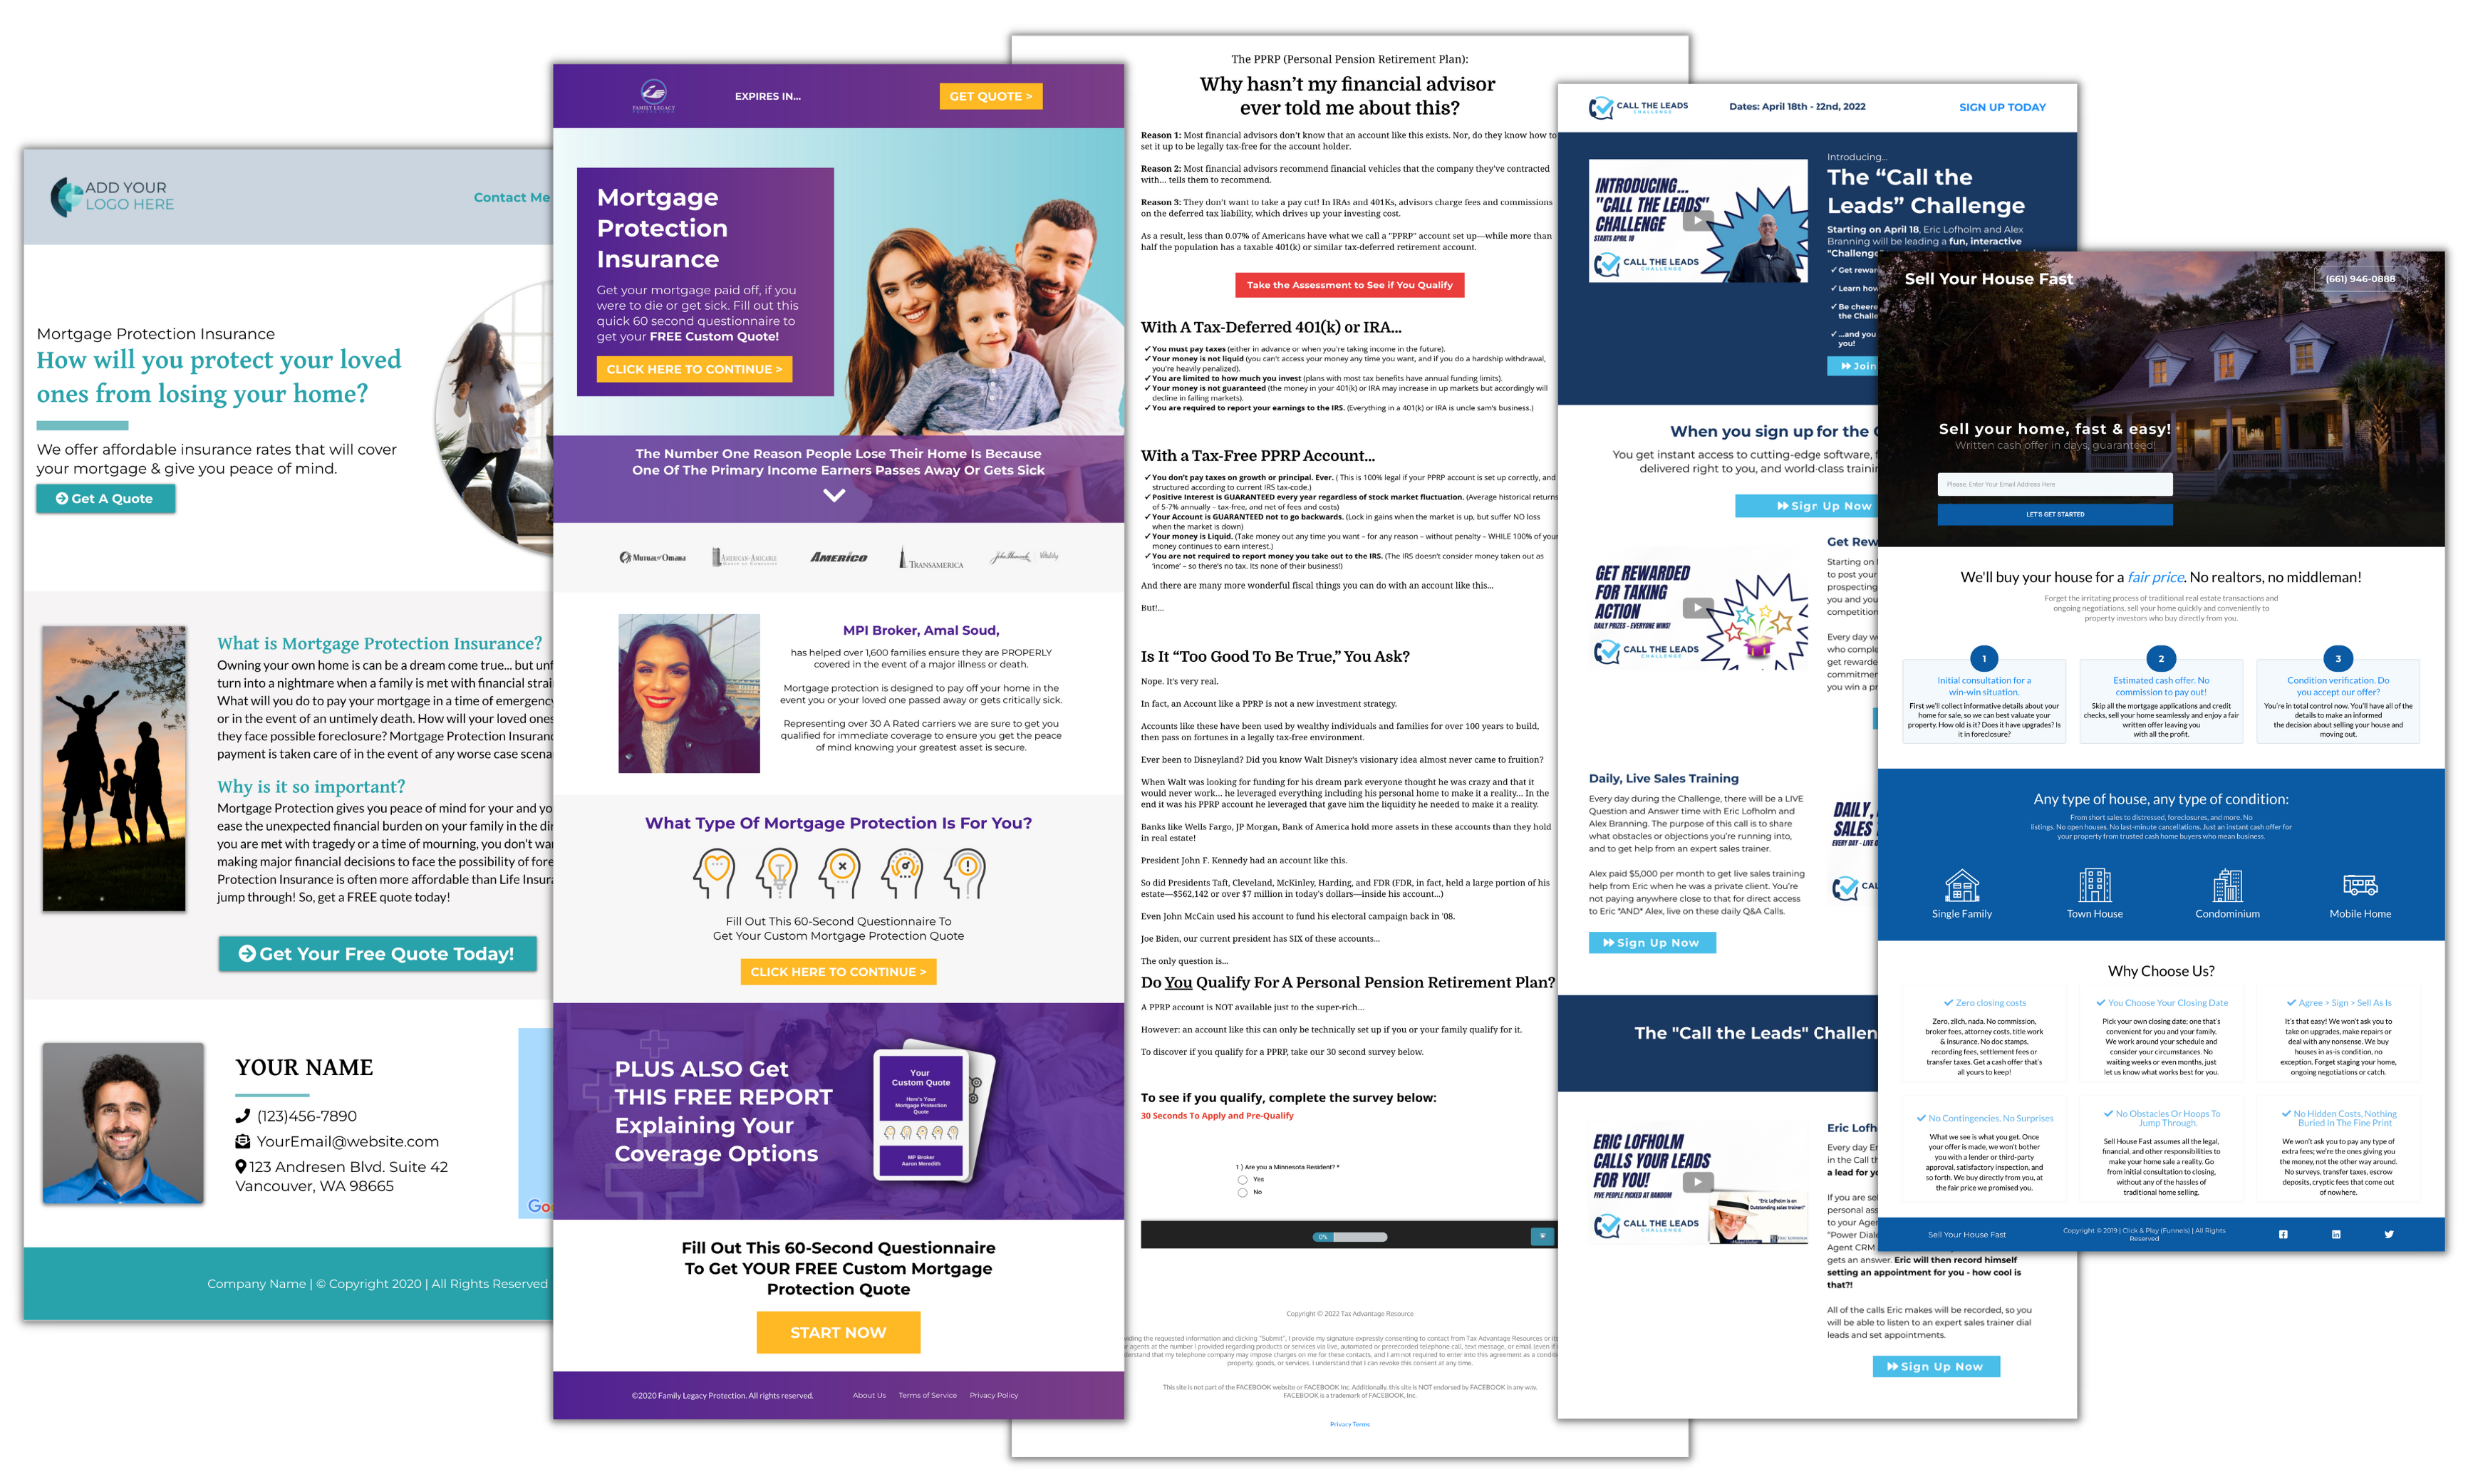
Step 1: Choose a Template
Agent CRM offers a variety of pre-designed funnel templates tailored specifically for life insurance. These templates are built to optimize lead capture and conversion. Browse through the available options in the Click & Play Library and select the one that best suits your goals. You can preview each template to get a sense of how it works.
Step 2: Access Agent CRM’s Funnel Builder
First, you’ll need to log in to your Agent CRM account. If you’re not already using Agent CRM, sign up and explore its features. Once you’re in, find and access the “Funnel Builder” feature under the “Sites” left-hand menu option.
Step 3: Customize Your Funnel
Now, it’s time to make the template your own. Customize the funnel with your branding, content, and any specific details that make your life insurance offering stand out. Add engaging copy, captivating images, and a strong call to action.
Step 4: Set Up Automated Follow-Up Messages
One of the standout features of Agent CRM is its ability to automate follow-up messages. Once a prospect enters your funnel, you can set up a series of automated messages to keep them engaged and informed. Use these messages to provide valuable information, answer common questions, and gently guide prospects toward scheduling a consultation.
Step 5: Define Your Lead Capture Points
In your funnel, identify the critical lead capture points. These are the moments when prospects provide their contact information in exchange for valuable content or resources. Agent CRM allows you to set up forms and capture lead data seamlessly.
Step 6: Test Your Funnel
Before making your funnel live, it’s essential to test all elements thoroughly. Ensure that the lead capture points, automated messages, and overall user experience work seamlessly. Fix any issues or glitches you encounter during testing.
Step 7: Launch Your Funnel
Once you’re satisfied with your funnel’s performance, it’s time to make it live. Share the funnel link through your various marketing channels, such as social media, email, or your website. We recommend using our Marketing+ Upgrade, with our full library of life insurance ads, to drive traffic to your new funnel.
Step 8: Monitor and Optimize
Your work doesn’t end with the funnel’s launch. Continuously monitor its performance through Agent CRM’s analytics. Keep an eye on the conversion rates and make data-driven adjustments to optimize the funnel further.
Conclusion
Agent CRM streamlines the process of creating, automating, and optimizing life insurance lead capture funnels. With its user-friendly funnel builder and templates, you can take the guesswork out of lead generation and ensure a steady stream of prospects. Start using Agent CRM today and watch your life insurance business thrive.
Ready to capture leads for your life insurance business?
Get started with Agent CRM and see the difference for yourself.
Life Insurance Funnels with Agent CRM – Included for Free, Inside of the Click&Play Library
Learn More About Agent CRM:
- Agent CRM: The Best CRM for Life Insurance Agents
- Life Insurance CRM: Best Custom Software for Agents 2023
- Websites for Insurance Agents: 3 Secrets to Building a Great Website for Your Business
- Revolutionize Your Insurance Sales with AI: A Conversation with Alex Branning and Cody Askins
- Drip Email Campaigns for Insurance Agents